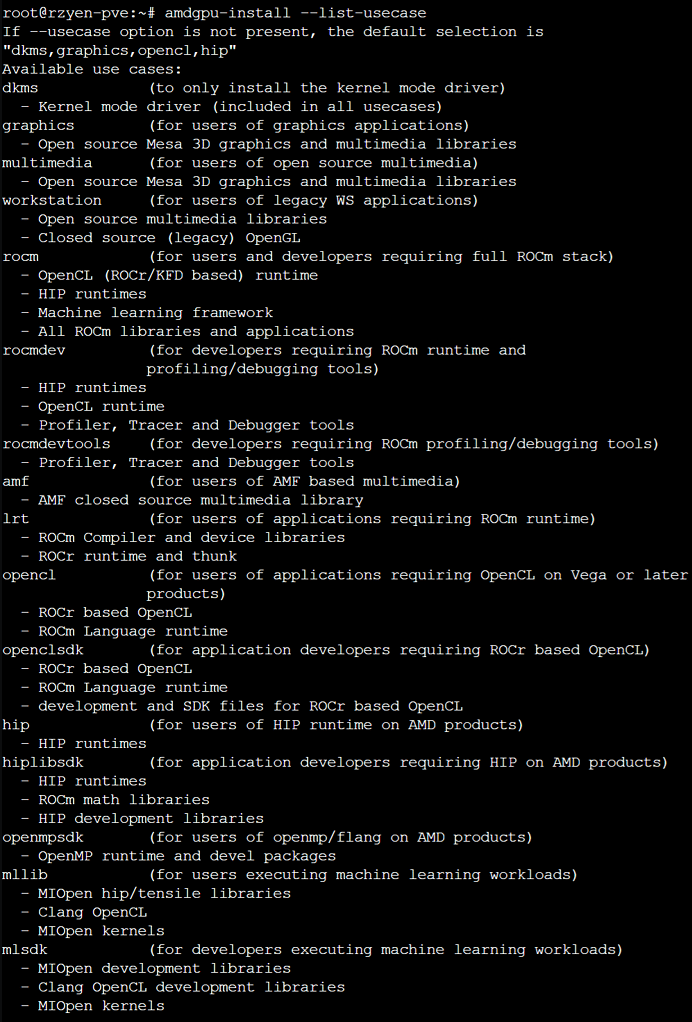
When the stable diffusion model was first openly released, I wanted to join up the hype train and making it my own (ie. self-hosted). However, my always on home server is an AMD nuc with an raven ridge APU. But boy oh boy, to run any ML application on AMD gpu is a complete nightmare. Even when googled on how to install AMD gpu driver on linux, there seems to be so many outdated information. For my particular setup (hypervisor + lxc), I need to 1) install amdgpu-install deb package from amd’s repo 2) install ONLY the dkms kernel module with "--usercase=dkms" flag 3) inside lxc or docker or in my case, docker inside lxc, install the driver with "--usercase=graphics --no-dkms" flags. This gets me 3D acceleration inside my lxc/docker environment; however, the –help functions loses me with all the ROCm options. I guess I probably need the "--usecase=rocm" flag? Regardless, when I tried this awhile ago it just does not work with either my APU (as part of the stack is not officially supported). I even went as far as some hacks by setting the HSA_OVERRIDE_GFX_VERSION to something else to trick the stable-diffusion code into thinking it’s running on a supported GPU. Needless to say, the process would crash as soon as I tried to generate images. Did I also mentioned that the ROMc docker images is like 20GB big? Come on amd…
Then, I thought “since everyone is using Nvidia gpu, can I turn my gaming laptop into a stable diffusion server when it’s not being used?” I have a MSI gaming laptop with an older 1060m 6gb gpu that my brother gifted to me. Even through I have a dedicated gaming server that I usually streams from, I still wanted to keep the ability to game on the go when I visit my in-laws. As a result, my final decision was to dual-boot linux (vs wsl) to get as much as juice as possible out of my laptop and also to see if the experimental setup would work with my flow.
First, I allocated 20GB of space and installed ubuntu+docker+nvidia-driver on my 128gb nvme drive. Then I set up an automatic mount to my NAS drive that hosts the stable diffusion docker images and models. Thanks to this awesome repo, I was able to pull and run the stable diffusion webui server from any machines with the help of docker abstraction! The tricky part is to modified the /etc/docker/daemon.json so docker will use the NAS drive’s layers. Here’s my daemon.json and /mnt/ssd250/ points to my network drive.
{
    "runtimes": {
        "nvidia": {
            "path": "nvidia-container-runtime",
            "runtimeArgs": [],
            "data-root": "/mnt/ssd250/stable-diffusion/docker"
        }
    }
}
Lastly, once I have everything set up and was able to generate stable diffusion images off my laptop, it’s time to automate the process. The service (my laptop) needs to be able to be remotely started, and it should just automatically boots up the docker image and spins the webui online. So, I enabled wake-on-lan with ethtools and the help of this arch article. By default, the grub bootloader always boots into the ubuntu OS first. Finally, I added a stable-diffusion systemd service at /etc/systemd/system/stable-diffusion.service as shown below. Don’t forget to run "sudo systemctl daemon-reload && sudo systemctl enable stable-diffusion.service" to actually activate the service.
[Unit]
After=multi-user.target

[Service]
WorkingDirectory=/mnt/ssd250/stable-diffusion
ExecStart=/usr/bin/docker compose --profile auto up --build

[Install]
WantedBy=default.target
Finally, once we boots and spins up the sd service, we might want a simple way to reboot back to windows remotely if I want to stream games from my laptop. So I added a few alias into my .bashrc file to make the process painless. Here’s the relevant section so by simply typing 'rbws' I can command the laptop to boot back to windows for gaming. The 'sds' allows me to view the journalctl logs of the stable diffusion service so I can trouble-shoot if something goes wrong.
### Reboot directly to Windows

reboot_to_windows ()
{
windows_title=$(grep -i windows /boot/grub/grub.cfg | cut -d "'" -f 2)
sudo grub-reboot "$windows_title" && sudo reboot
}
alias rbws='reboot_to_windows'
alias sdau='cd /mnt/ssd250/stable-diffusion && docker compose --profile auto up --build'
alias sds='journalctl -xeu stable-diffusion.service -f'
In conclusion, it was a cool experiment and set up which allows to game and use stable diffusion as I desired. Yet, since the 1060m takes about 30s to generate 1 image, I decided to eventually moved everything into a WSL2 setup on my main windows PC with a RTX 3080ti (~5s/image). You can check out how I do it when I wrote about the process one day!
Leave a Reply